How to Dye Your Hair at Home: Step-by-Step Guide
Master the art of at-home hair coloring with our foolproof guide. Save money while achieving salon-worthy results safely!
Well, here's the thing about coloring your hair: you don't always need to shell out big bucks at a fancy salon! Taking the plunge into DIY hair dyeing can feel like jumping into the deep end, but honestly, it's not rocket science. Whether you're covering those pesky grays that keep popping up or you're itching for a complete transformation, this How to Dye Your Hair at Home: Step-by-Step Guide will walk you through everything you need to know. From choosing the perfect shade to avoiding those dreaded orange mishaps, we've got your back. So grab a cup of coffee, put on that old t-shirt you don't mind ruining, and let's dive into the colorful world of at-home hair transformation!
Why Choose At-Home Hair Dyeing?
Let's face it, salon visits can burn a hole in your pocket faster than you can say "balayage." Dyeing your hair at home isn't just about saving money though. You're looking at convenience that can't be beat! No more scheduling appointments weeks in advance or sitting in a salon chair for hours on end. Plus, there's something incredibly satisfying about taking control of your own look. Sure, it might seem intimidating at first, but once you get the hang of it, you'll wonder why you didn't start sooner.
Choosing the Right Hair Color
Understanding Your Base Color
Before jumping headfirst into the world of hair dye, you've gotta know what you're working with. Your natural hair color, or base color, determines how different dyes will turn out. Dark brown hair won't magically become platinum blonde with one box of dye, no matter what the package promises! Understanding whether you have warm or cool undertones makes all the difference too. Looking at your veins in natural light can help; greenish veins usually mean warm undertones, while blue or purple veins suggest cool undertones.
Permanent vs. Semi-Permanent Dyes
Here's where things get interesting! Permanent dyes are like that friend who overstays their welcome; they're in it for the long haul. These bad boys penetrate deep into your hair shaft and won't budge until new hair grows in. Semi-permanent dyes, on the other hand, are more like houseguests who stick around for a few weeks. They coat the outside of your hair and gradually wash out after about 6-8 shampoos. If you're testing the waters with a new color, semi-permanent might be your best bet.
Reading the Color Chart
Those little swatches on the box? They're not just for show! Reading a color chart properly can save you from ending up with carrot-orange hair when you wanted honey blonde. The numbers on the box tell a story: the first number indicates how light or dark the shade is (1 being black, 10 being lightest blonde), while numbers after the decimal point show the tone. Remember, the result shown on the box assumes you're starting with a certain base color, usually shown on the side panel.
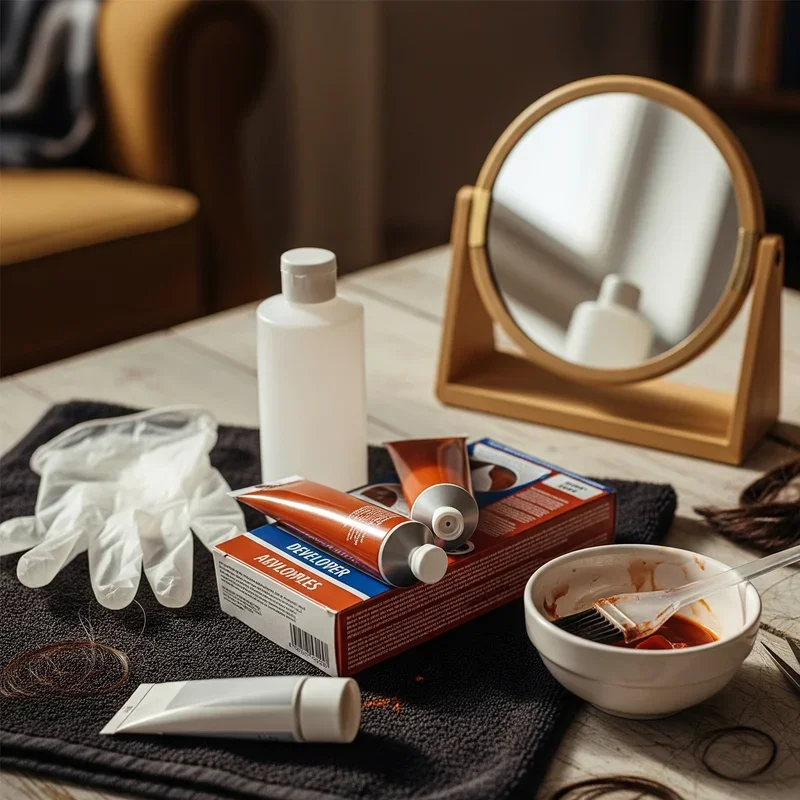
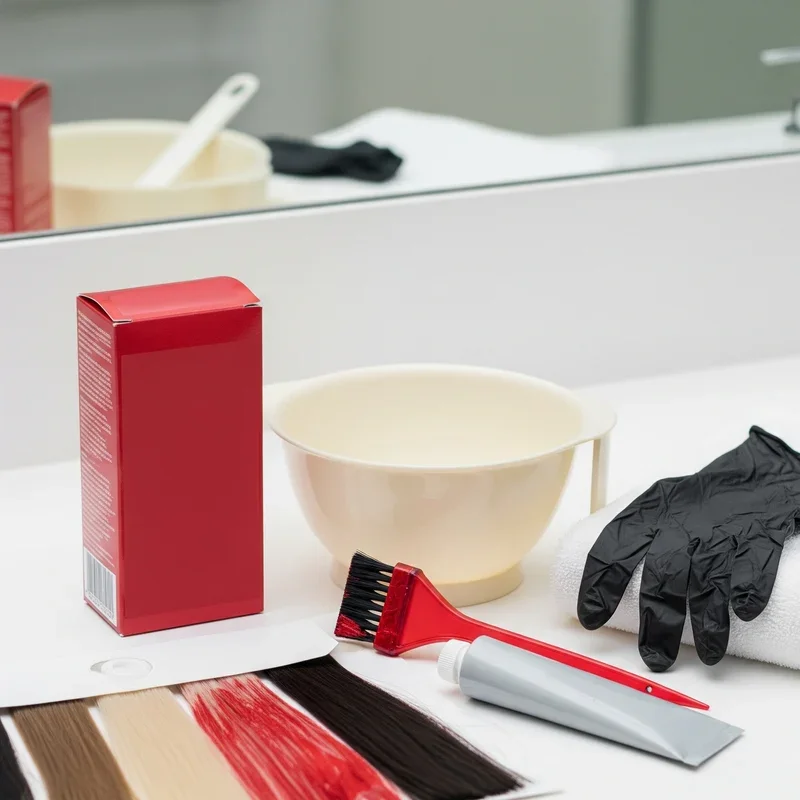
Essential Supplies for How to Dye Your Hair at Home: Step-by-Step Guide
Must-Have Tools
Walking into this unprepared is like trying to bake a cake without measuring cups. Here's what you absolutely need:
• Hair dye kit (obviously!) • Plastic or glass mixing bowl (metal can react with the chemicals) • Application brush or bottle • Wide-tooth comb • Hair clips to section your hair • Timer (your phone works great) • Old towels you won't miss • Petroleum jelly or thick moisturizer • Disposable gloves (usually included in the kit) • Plastic shower cap or cling wrap
Protective Gear
Trust me, you don't want to explain to your boss why your forehead looks like a abstract painting! Protecting your skin and surroundings is crucial. That old t-shirt I mentioned earlier? Essential. Same goes for covering any surfaces where you'll be working. Newspaper or plastic bags work wonders for protecting countertops and floors.
Pre-Dyeing Preparation
The Strand Test
I know, I know, you're excited to get started, but hold your horses! A strand test is like a dress rehearsal for your hair. Taking a small section from underneath and testing the dye helps you see exactly how the color will turn out and how long to leave it on. It's better to sacrifice a tiny hidden section than to end up with a whole head of hair you hate!
Preparing Your Hair
Here's something that might surprise you: dirty hair actually takes dye better than squeaky clean hair! The natural oils protect your scalp from irritation. Skip washing for a day or two before dyeing, but make sure your hair is free from heavy styling products. Detangling beforehand is crucial too; trying to comb through tangled hair with dye on it is about as fun as a root canal.
Protecting Your Skin
Applying petroleum jelly or a thick moisturizer along your hairline, ears, and neck creates a barrier that prevents skin staining. Think of it as drawing an invisible fence around your hair. This simple step will save you from looking like you got into a fight with a marker and lost!

How to Dye Your Hair at Home: Step-by-Step Guide Process
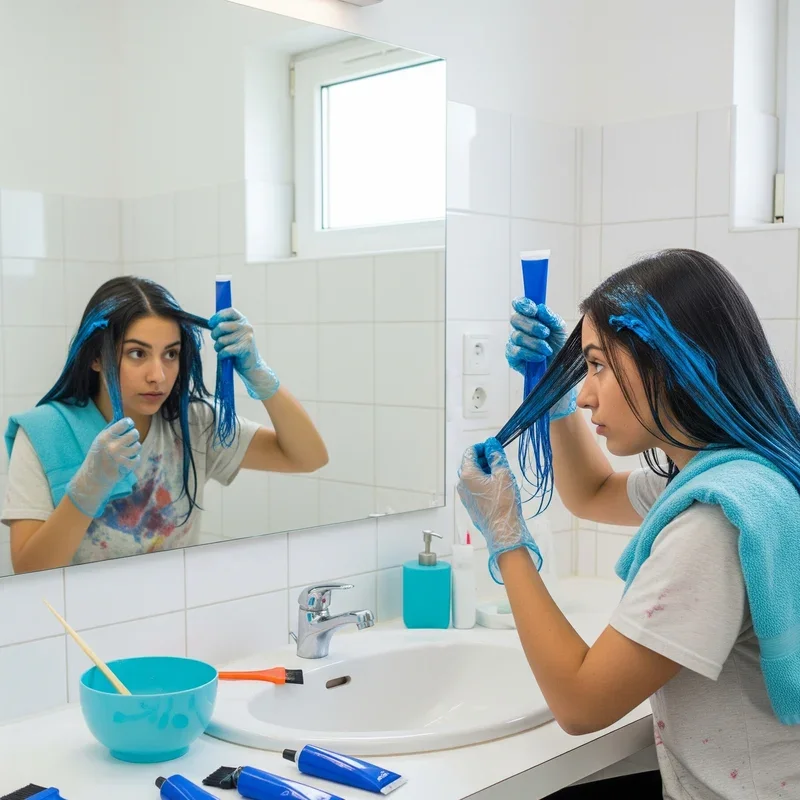
Mixing the Formula
Alright, here comes the fun part! Most box dyes come with two components that need mixing. Following the instructions to a T is important here; this isn't the time to get creative. Squeeze the developer into the color cream, shake or stir according to directions, and voila! You've got your magic potion ready. Some people like to add a squirt of conditioner to the mix for extra moisture, but check if your specific dye allows this first.
Sectioning Your Hair
Working with one giant mass of hair is like trying to paint a house with a toothbrush. Section your hair into four quadrants: part it down the middle from forehead to nape, then from ear to ear across the crown. Clip each section up and out of the way. This methodical approach ensures you won't miss any spots or end up with patchy color.
Application Techniques
Starting from the back sections (they're usually the thickest and take longest to process), apply dye from roots to ends if you're doing an all-over color. For root touch-ups, obviously just focus on the new growth. Work in small subsections about half an inch thick, making sure each strand is thoroughly saturated. Don't pile all your hair on top of your head like you're shampooing; this creates uneven results and can cause serious tangles.
Timing is Everything
Setting that timer isn't just a suggestion; it's absolutely crucial! Processing time varies depending on your hair type and the desired result. Generally, it's anywhere from 20 to 45 minutes. Leaving dye on too long won't make the color more intense, it'll just damage your hair. On the flip side, not leaving it long enough means wasted effort and disappointing results.
Processing and Waiting Period
What Happens During Processing
While you're sitting there looking like you've got an alien creature on your head, amazing chemistry is happening! The developer opens up your hair cuticles, allowing the color molecules to penetrate and deposit. Some people feel a slight tingling sensation; that's normal. However, if you experience burning or severe discomfort, rinse immediately!
Tips for Even Coverage
Wearing a plastic cap or wrapping your hair in cling wrap helps trap heat, which can enhance color development. Some folks even use a blow dryer on low heat for a few minutes to speed things up, though this isn't necessary. Walking around or doing light activities keeps your body heat up, which also helps processing.
Rinsing and Aftercare
The Proper Rinse Technique
When that timer goes off, it's shower time! Rinse with lukewarm water until the water runs clear. Hot water might feel good, but it opens up the cuticles and lets color escape. Once the water's clear, apply the conditioner that came with your kit (or a deep conditioning treatment) and let it sit for a few minutes. This helps seal the cuticle and lock in color.
First 48 Hours Care
The first two days after coloring are critical. Your hair cuticles are still slightly open, making the color vulnerable to fading. Wait at least 48 hours before shampooing, and when you do, use cool water and sulfate-free products. Think of your newly colored hair like a fresh tattoo; it needs time to set properly.
Common Mistakes and How to Avoid Them
Color Disasters Prevention
We've all seen those hair color horror stories on social media! The most common mistake? Going too light too fast. If you've got dark hair and want to go significantly lighter, it's gonna take multiple sessions. Trying to achieve platinum blonde from black hair in one go is asking for trouble. Orange or brassy tones often result from not leaving bleach on long enough or choosing the wrong toner.
Overlap Issues
Overlapping previously colored hair with new dye can create banding or darker patches. When doing root touch-ups, apply to new growth only, then pull through to the ends just for the last five minutes of processing time. This refreshes the existing color without over-processing.
Maintaining Your New Color
Color-Safe Products
Investing in color-safe shampoo and conditioner isn't just marketing hype; it really makes a difference! These products are formulated without harsh sulfates that strip color. Purple shampoo for blondes, blue shampoo for brunettes, these tinted products help neutralize unwanted tones between colorings.
Touch-Up Schedule
Depending on how fast your hair grows and how different your natural color is from your dyed shade, you'll need touch-ups every 4-8 weeks. Some people stretch it longer by using root cover-up sprays or powders between colorings. Keeping a record of what brand and shade you used makes future touch-ups foolproof.
Troubleshooting Color Problems
Fixing Uneven Results
So you've got some patches that are lighter or darker than others? Don't panic! Sometimes a second application on the lighter areas can even things out. For minor unevenness, a color-depositing treatment or gloss can work wonders. If things are really wonky, a color remover might be necessary before starting fresh.
Dealing with Unwanted Tones
Ended up with green-tinted blonde or orange-ish brown? Color theory to the rescue! Using a toner with the opposite color on the color wheel neutralizes unwanted tones. Green tones need red-based solutions, orange needs blue or purple, and so on. Many drugstores sell toners specifically for these common problems.
When to Seek Professional Help
Recognizing Your Limits
Look, there's no shame in admitting when you're in over your head! Complex techniques like balayage, dramatic color corrections, or going from very dark to very light hair often require professional expertise. If your hair is severely damaged or you've had multiple chemical processes recently, a professional consultation might save you from disaster.
Fixing Major Mistakes
If you've ended up with a color catastrophe that home remedies can't fix, step away from the box dye! Trying to fix a serious mistake yourself often makes things worse. Professionals have access to products and techniques that aren't available to consumers, and they can assess the condition of your hair to determine the safest correction method.
Conclusion
Taking charge of your hair color at home doesn't have to be scary! With the right preparation, quality products, and patience, you can achieve beautiful results that rival any salon job. Remember, practice makes perfect, and even professional colorists started somewhere. Whether you're covering grays or trying out that trendy new shade you've been eyeing, this guide has equipped you with everything you need for success.
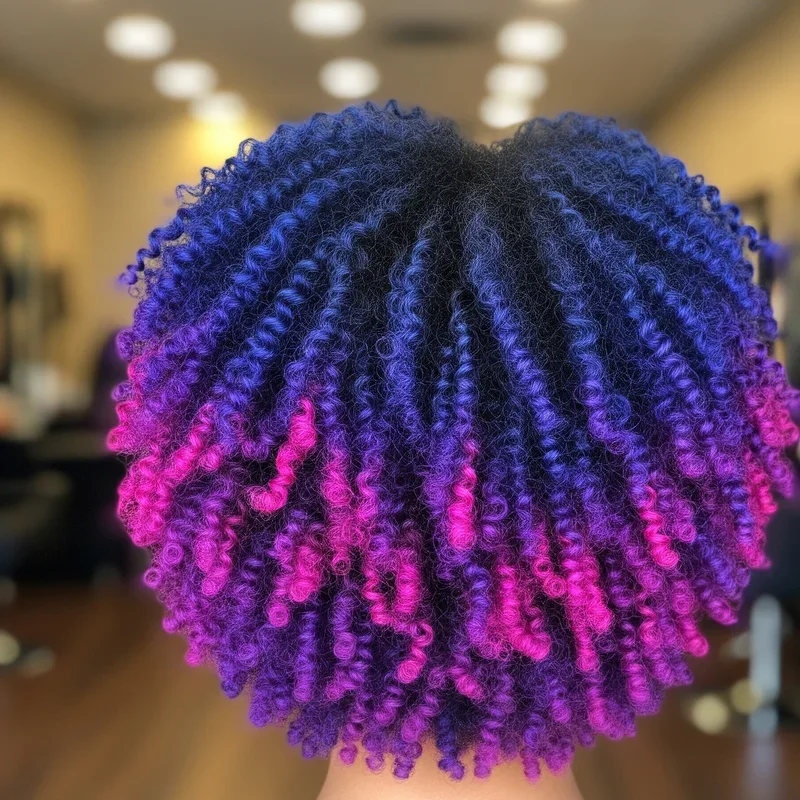
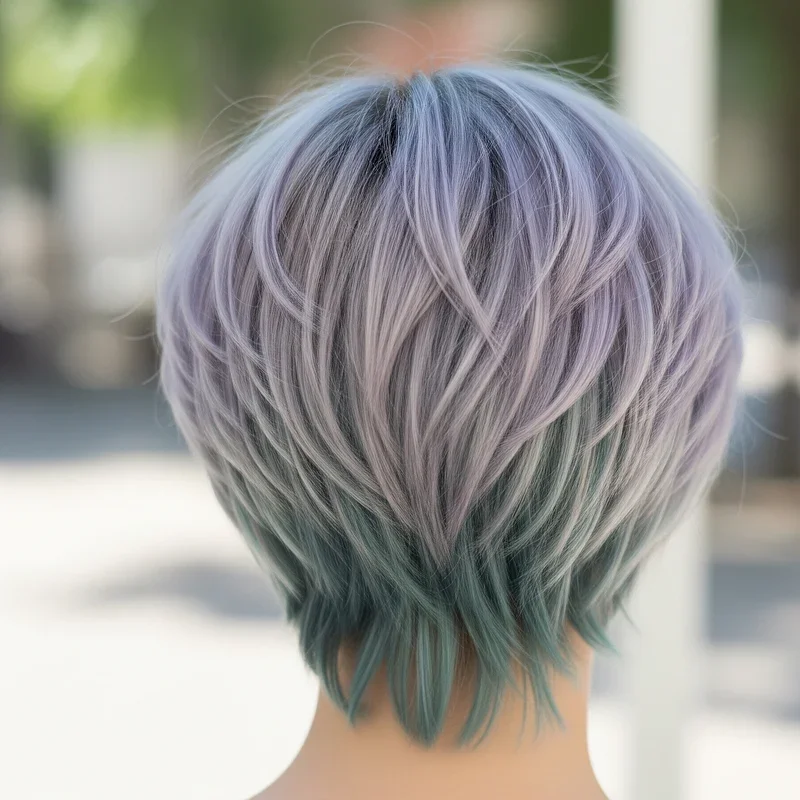
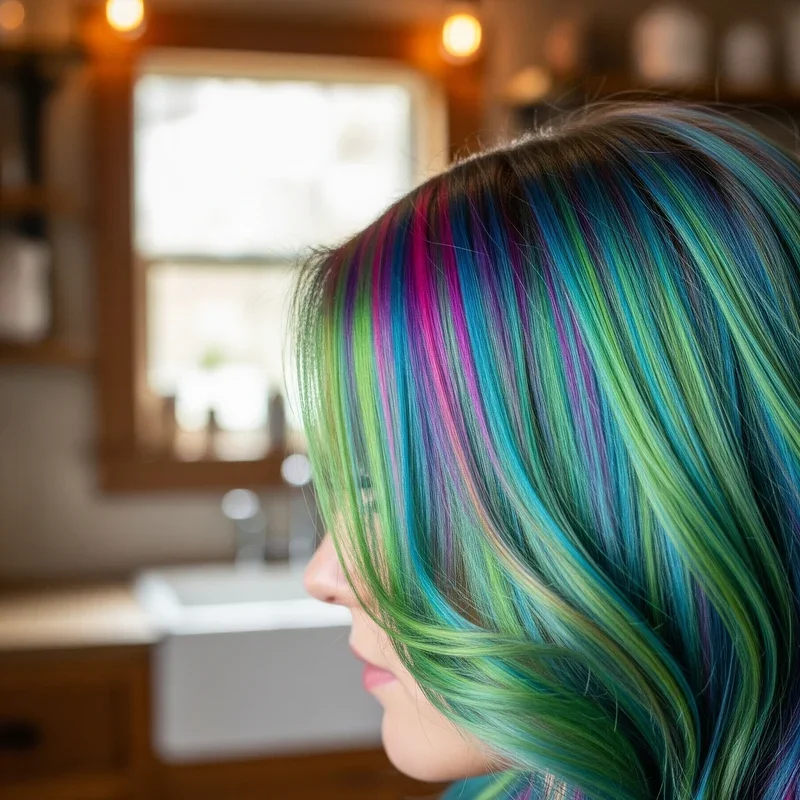
Read next: 15 Colorful Hair Ideas to Brighten Your Everyday Look
Frequently Asked Questions
Q1: Can I dye my hair if it's been chemically straightened?
A: Wait at least two weeks between chemical treatments to prevent damage.
Q2: How often can I safely dye my hair at home?
A: Every 4-6 weeks for permanent dye, more frequently for semi-permanent.
Q3: Will hair dye work on gray hair effectively?
A: Yes, but gray hair may need longer processing time.
Q4: Can I mix two different hair dye colors together?
A: Only mix dyes from the same brand and product line.
Q5: Should I dye my roots or ends first?
A: Always start with roots as they need more processing time.
Stay up to date with our latest ideas!