How to Trim Your Own Hair at Home Like a Pro
Master DIY haircuts with expert tips! Learn how to trim your own hair at home like a pro. Save money and time with foolproof techniques.
Well, here's the thing about haircuts: they're expensive, time-consuming, and let's face it, sometimes you just can't wait three weeks for that appointment when your bangs are literally poking you in the eyeballs! Learning how to trim your own hair at home like a pro isn't just about saving a few bucks (though that's definitely a sweet bonus). It's about taking control of your look, fixing those little annoyances between salon visits, and hey, discovering a skill you never knew you had. Whether you're dealing with split ends that look like tiny broomsticks or you're simply tired of playing phone tag with your hairstylist, I've got your back. This guide will walk you through everything from choosing the right scissors to avoiding those "oops" moments that'll have you wearing a hat for weeks. Trust me, with the right techniques and a little patience, you'll be snipping away like you've been doing this for years!
Getting Started: What You'll Need for Success
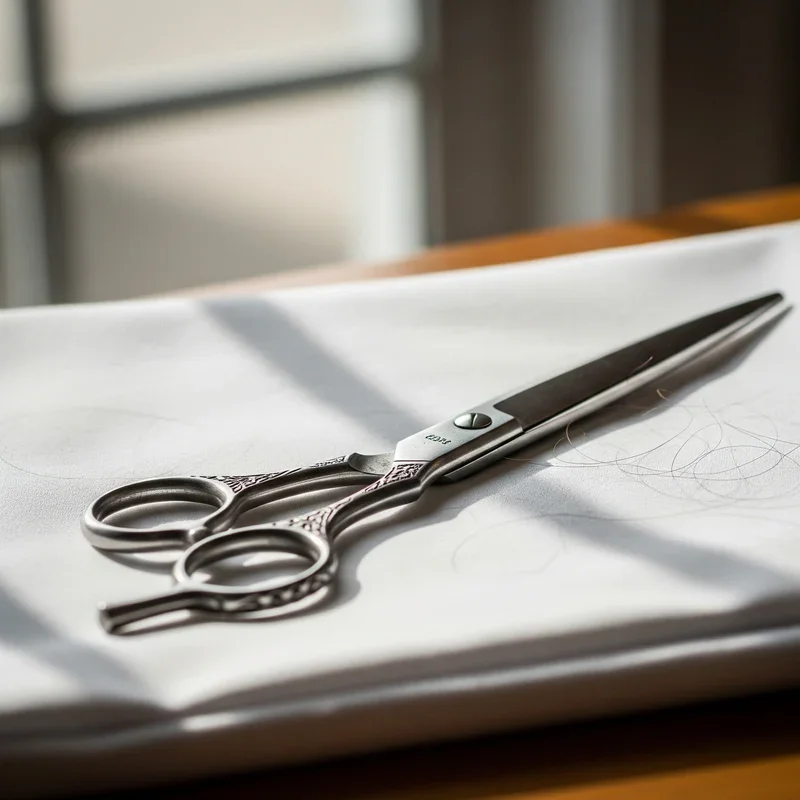
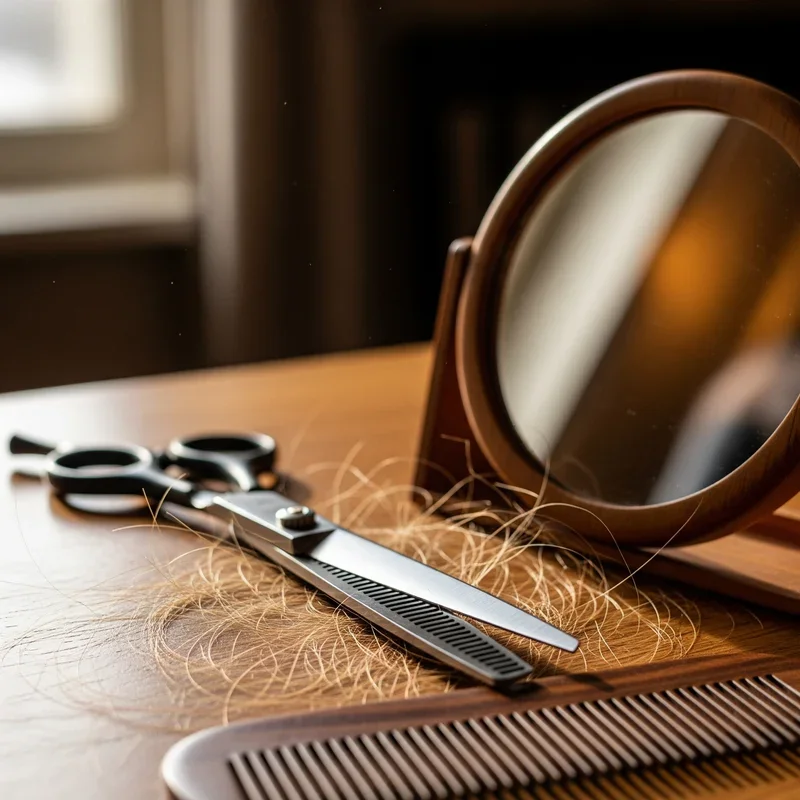
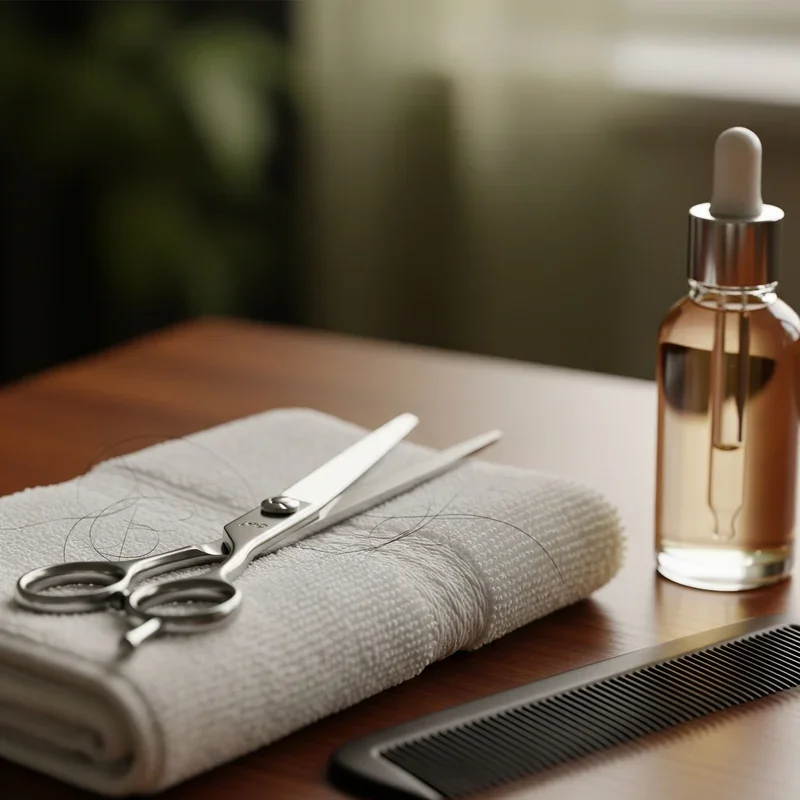
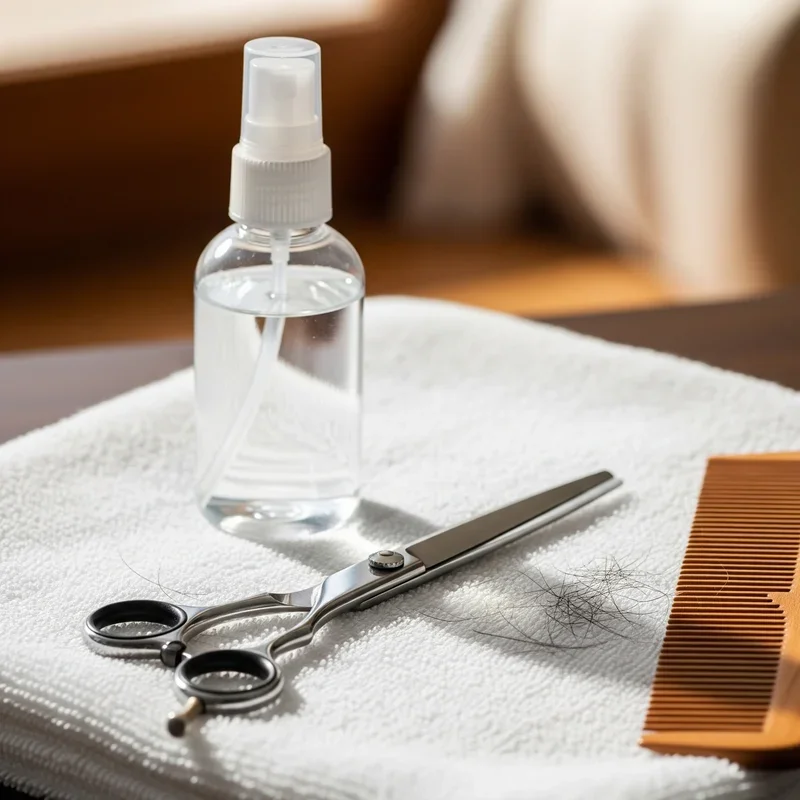
Before jumping in scissors blazing, you gotta have the right tools. Using kitchen scissors on your precious locks? That's a recipe for disaster, my friend! Professional hair-cutting scissors make all the difference between a clean cut and frayed ends that'll haunt you for months.
Here's your essential toolkit:
Sharp haircutting scissors (not your craft scissors!)
A fine-tooth comb
Hair clips or elastics
A spray bottle with water
Two mirrors (one handheld)
Good lighting (seriously, this is crucial)
A cape or old towel
Patience (lots of it)
Oh, and here's a pro tip that'll save your sanity: start small. Really small. You can always cut more, but gluing hair back on? Yeah, that's not happening.
Understanding Your Hair Type First
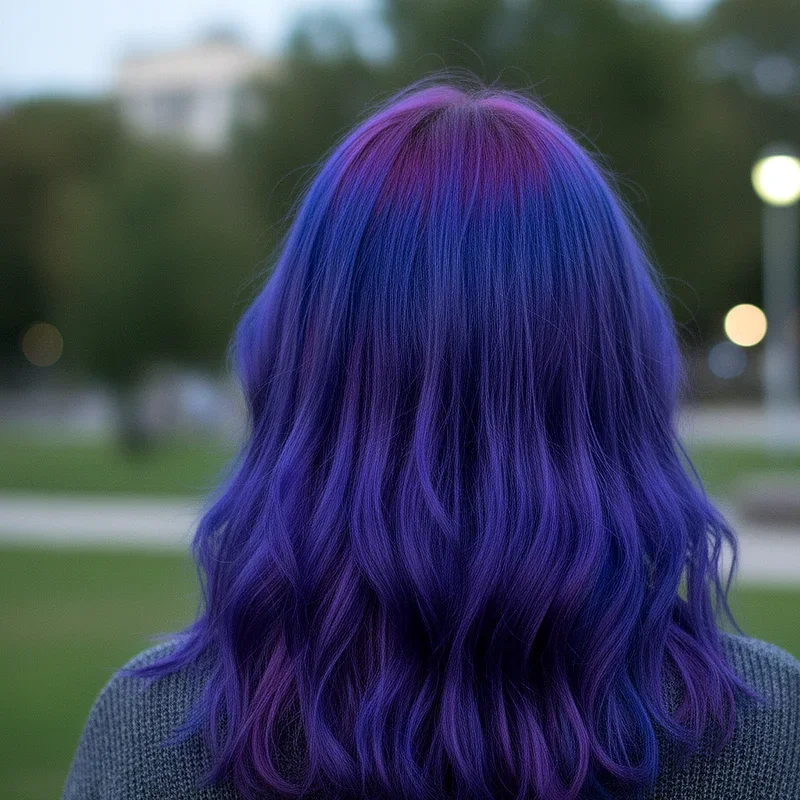
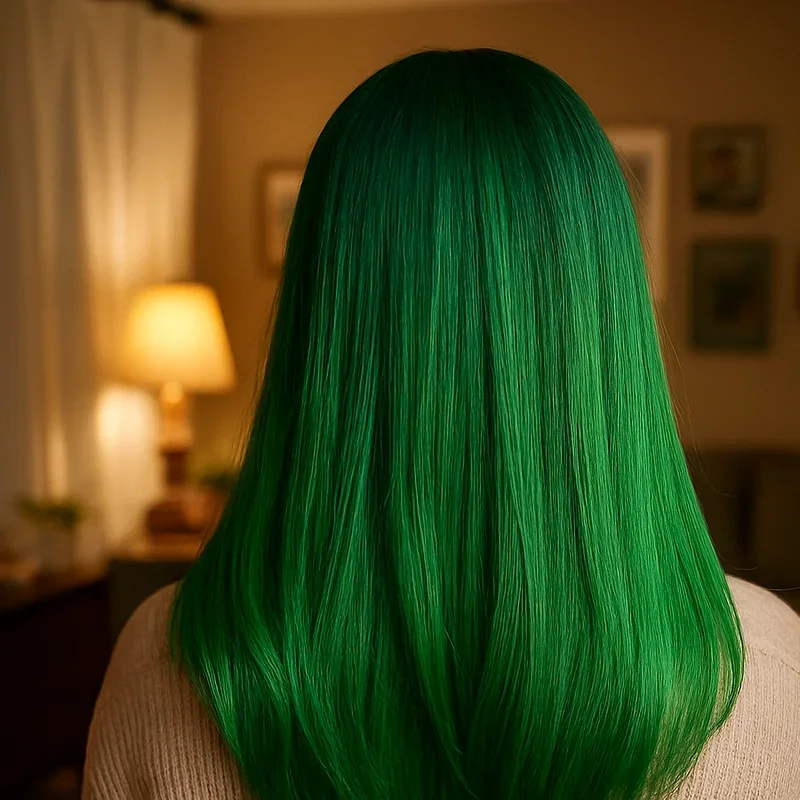
Knowing your hair type isn't just salon talk; it's the foundation of successful home trimming. Curly hair behaves totally differently than straight hair when cut, and treating them the same way is asking for trouble.
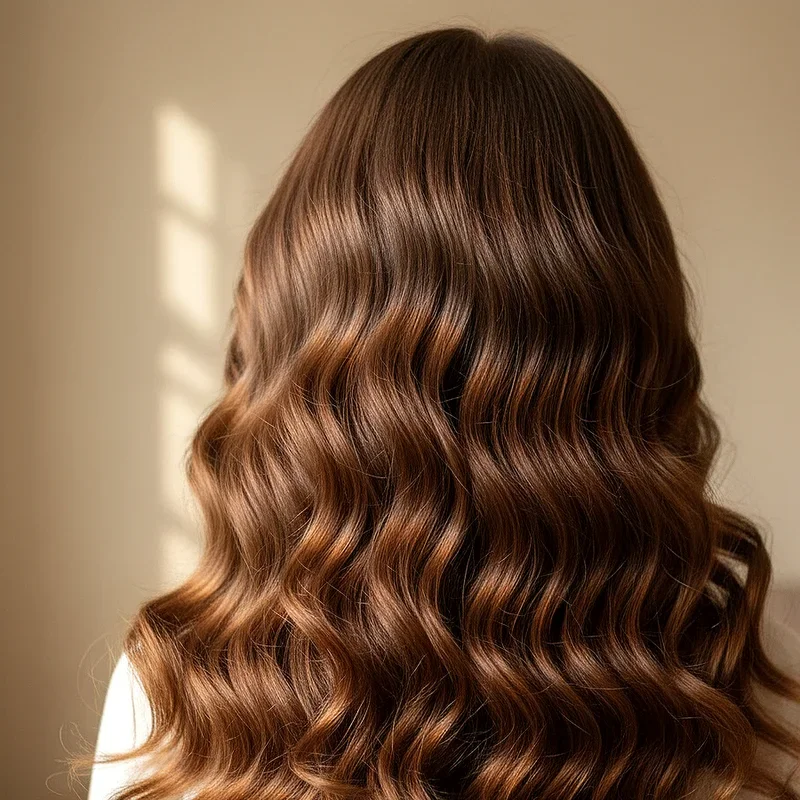
Straight hair shows every single mistake, kinda like how a white shirt shows every coffee spill. With straight hair, precision is your best friend. You'll want to work with damp hair and cut in small, horizontal sections. The good news? What you see is pretty much what you get.
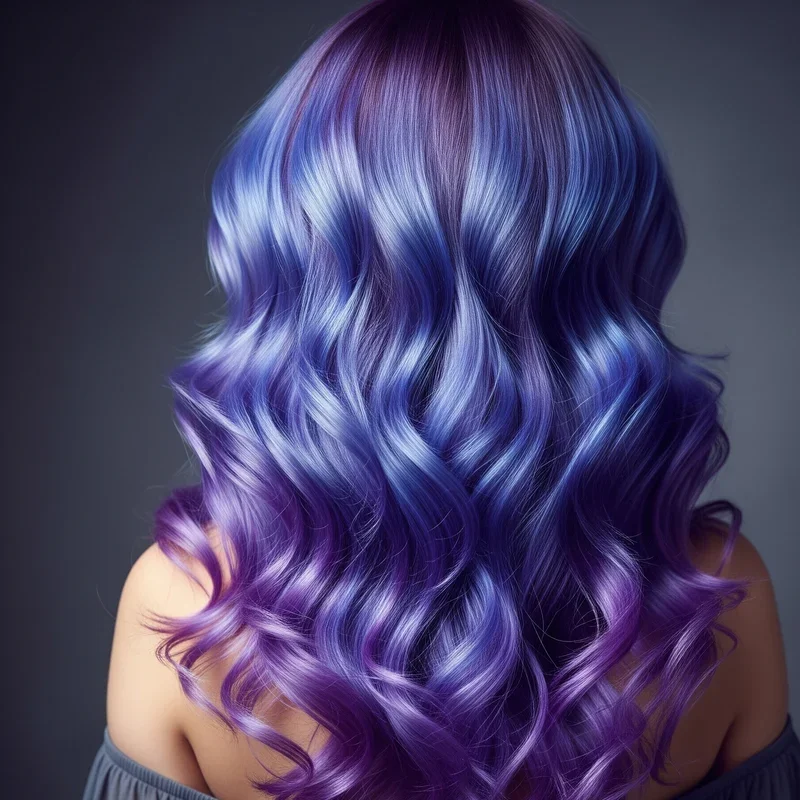
Wavy hair, on the other hand, has a mind of its own. It springs up when dry, so always cut it longer than you think you need. I learned this the hard way when my shoulder-length waves turned into a bob that barely touched my ears!
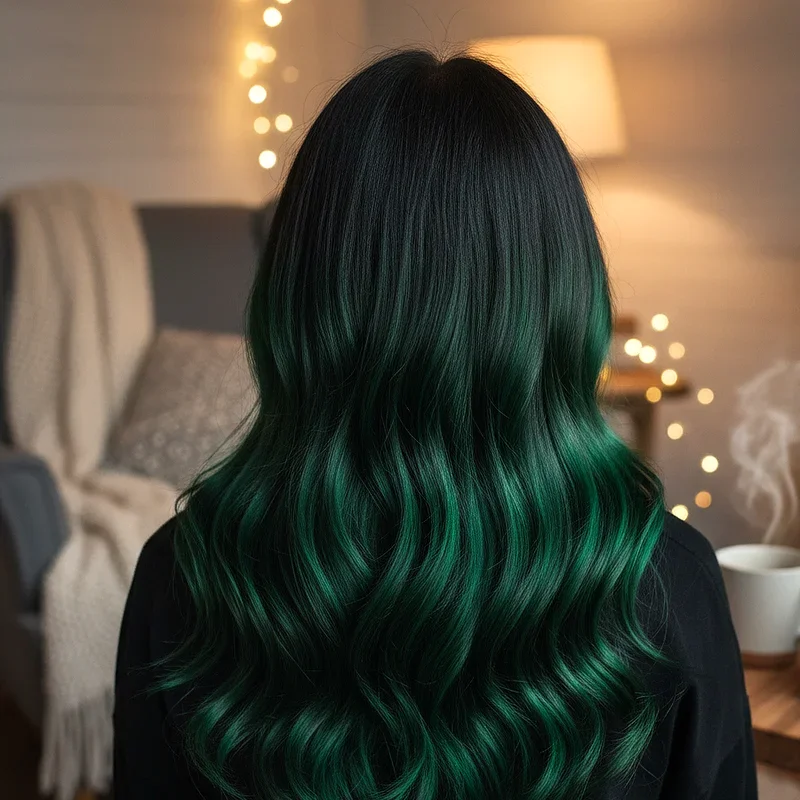
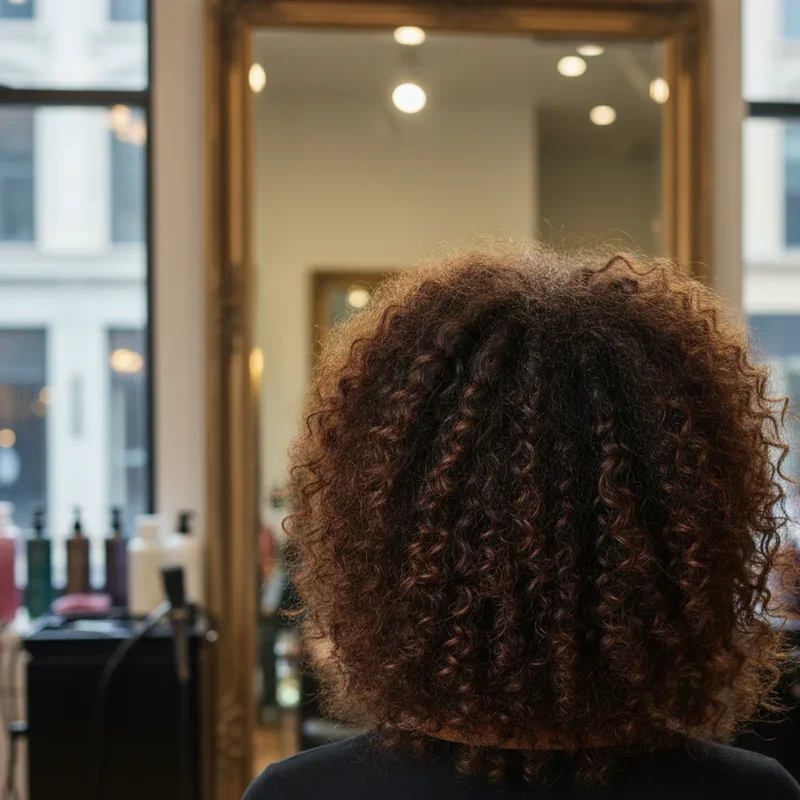
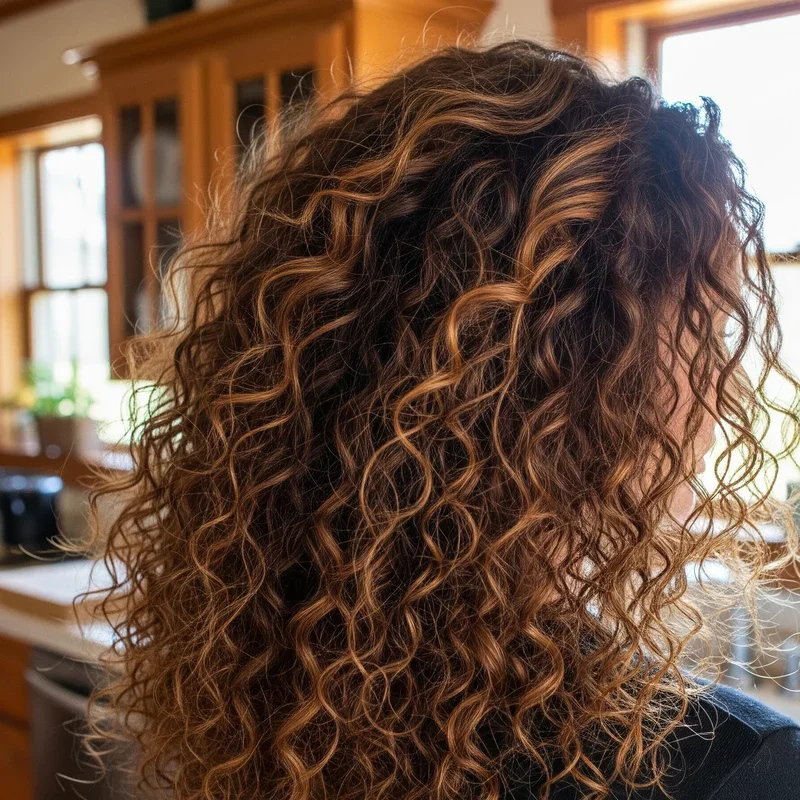
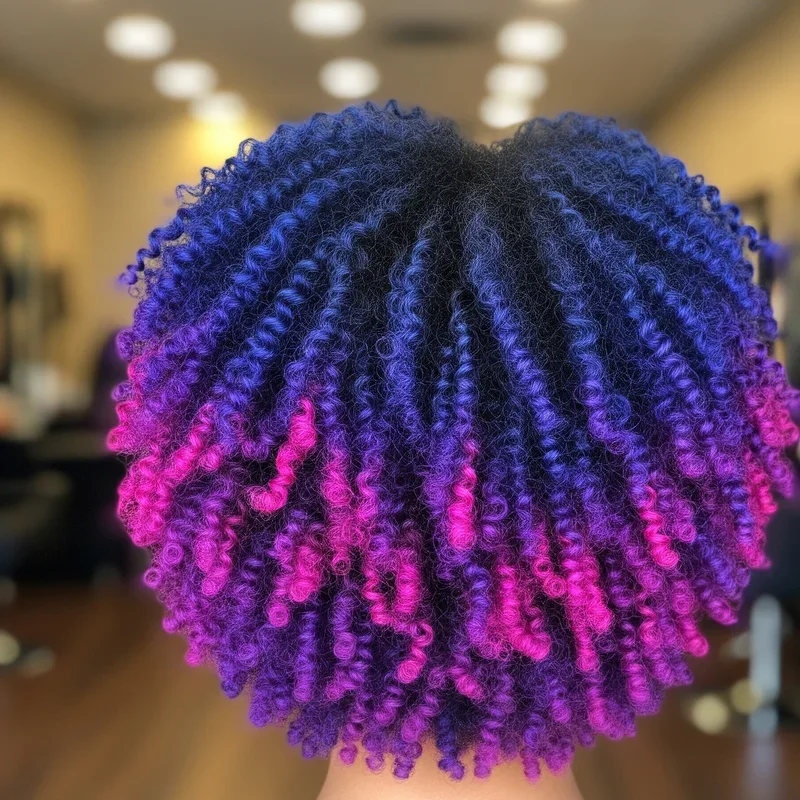
Curly and coily hair? Now that's where things get interesting. Always, and I mean always, cut curly hair when it's dry and styled the way you normally wear it. Each curl has its own personality, and cutting them wet is like trying to predict the weather in April.
How to Trim Your Own Hair at Home Like a Pro: The Basic Techniques
Alright, let's get down to business! The key to mastering how to trim your own hair at home like a pro lies in understanding a few fundamental techniques that'll work for most hair types.
The Point Cutting Method
This technique is your secret weapon against blunt, obvious lines. Instead of cutting straight across, hold your scissors vertically and make tiny snips into the ends of your hair. It creates a softer, more natural-looking edge that blends beautifully. Think of it like feathering the edges of a painting rather than drawing a hard line.
The Twist and Snip Technique
Perfect for removing split ends without losing length! Take a small section of hair, twist it tight, and you'll see those pesky damaged ends sticking out like little rebels. Carefully snip only those protruding bits. It's oddly satisfying, like popping bubble wrap but actually productive.
The Tension Method
Maintaining consistent tension while cutting is crucial. Too loose, and you'll get uneven lengths. Too tight, and you'll cut more than intended. Find that sweet spot where the hair is taut but not stretched. Your fingers should act like a ruler, sliding down the hair shaft to maintain evenness.
Trimming Different Hair Lengths and Styles
Each hair length comes with its own set of challenges and tricks. Let's break it down so you don't end up with an accidental mullet!
Long Hair Maintenance
Long hair might seem easier to trim, but boy, can it be tricky to get even! The best approach is the "ponytail method." Brush all your hair into a low ponytail at the nape of your neck, secure it, then slide the elastic down to where you want to cut. Make sure the ponytail is centered, or you'll end up with a wonky V-shape that screams "I did this myself!"
For layers in long hair, try the "twist method." Section your hair horizontally, twist each section, and cut at an angle. The steeper the angle, the more dramatic your layers. Start conservative though; you can always add more movement later.
Medium-Length Magic
Medium hair is actually the trickiest length to trim yourself. It's long enough to be uneven but short enough that mistakes are super visible. The key here is working in quarters. Divide your hair into four sections and tackle each one separately.
Use the mirror setup strategically, checking from multiple angles after each snip. And here's something nobody tells you: your arms will get tired! Take breaks between sections. Rushing because your arms feel like jelly is how disasters happen.
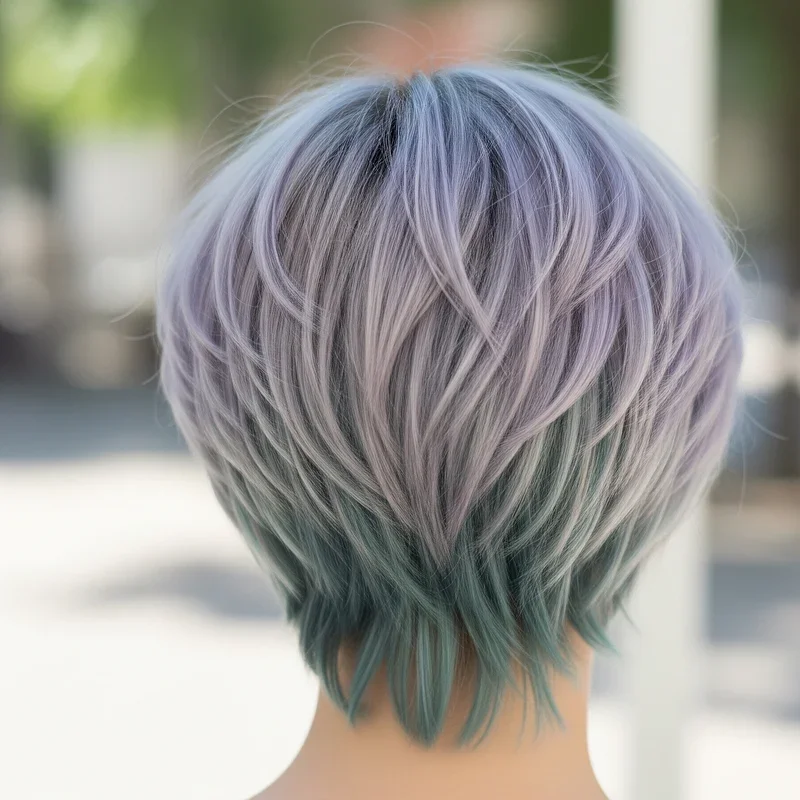
Short Hair Solutions
Thinking about trimming short hair yourself? Brave soul! Short styles require serious precision since there's nowhere to hide mistakes. Focus on maintenance rather than major changes. Clean up the edges around your ears and neckline using an electric trimmer if you have one.
For pixie cuts and bobs, the "guide method" works wonders. Cut one section to your desired length, then use it as a reference for the rest. Work systematically, and remember that short hair grows fast, so if you mess up, it's not the end of the world!
Dealing with Bangs: The Ultimate Test
Ah, bangs. They grow faster than weeds and cost a fortune to maintain at the salon. Learning to trim them yourself is honestly life-changing, but it requires nerves of steel and a very steady hand.
First rule of bang trimming: always cut them dry. Wet bangs are lying liars who lie. They'll look perfect wet, then dry two inches shorter than expected. Start by cutting them longer than you want, then gradually work your way up. Cut vertically rather than horizontally for a softer, more professional look.
The triangle section is your friend here. Part your bangs in a triangle shape from the center of your head, and don't include hair from the sides. That's how you avoid accidentally giving yourself super wide bangs that'll take months to grow out.
Common Mistakes and How to Avoid Them
We've all seen those haircut fail videos, and while they're hilarious, nobody wants to star in one! Here are the biggest mistakes people make when learning how to trim your own hair at home like a pro.
Cutting too much at once tops the list. Seriously, your eagerness is your enemy here. Take off half of what you think you want to cut, live with it for a day, then reassess. Hair has this magical ability to look shorter once you style it.
Ignoring your natural hair patterns is another biggie. We all have cowlicks, growth patterns, and weird spots where hair does its own thing. Work with these quirks, not against them. Fighting your natural hair pattern is like trying to teach a cat to fetch.
Using blunt cuts on textured hair? Please don't! Textured and curly hair needs movement and shape. Blunt cuts can create a triangle or pyramid shape that'll have you looking like a character from an 80s yearbook.
The Finishing Touches That Make All the Difference
You've made it through the cutting without any major disasters, but don't celebrate just yet! The finishing touches separate amateur hour from professional-looking results.
Texturizing is your secret weapon. Even if your cut is slightly uneven, proper texturizing can hide a multitude of sins. Use thinning shears sparingly, focusing on the last two inches of hair. This removes bulk and creates movement without sacrificing length.
Don't forget about the perimeter! The hair around your face and neckline frames everything else. Clean up these areas carefully with small, conservative snips. These details make your trim look intentional rather than like you got attacked by a weed whacker.
Style your hair completely before declaring yourself done. Sometimes what looks perfect when wet turns into something entirely different when styled. If you notice issues, address them immediately while you're still in the zone and have your tools out.
Maintaining Your DIY Trim
Congrats, you've successfully trimmed your own hair! But the journey doesn't end here. Maintaining your handiwork is just as important as the initial cut.
Regular micro-trims every 3 to 4 weeks will keep your style looking fresh. I'm talking about barely-there trims, just cleaning up the ends and maintaining the shape. This prevents you from needing major cuts and keeps your hair healthy.
Invest in quality hair products that suit your new style. The right products can make an average cut look amazing, while the wrong ones can make even a professional cut look messy. Don't skimp here; your hair deserves the good stuff!
Keep practicing your technique. Each time you trim, you'll get better at understanding your hair's quirks and behavior. Take photos after each trim to track your progress. You'll be amazed at how much you improve!
When to Call in the Professionals
Look, I'm all for DIY maintenance, but let's be real about when it's time to hand over the scissors to someone who went to school for this stuff.
Major style changes should always be left to professionals. Want to go from long layers to a bob? Please, please see a stylist. Chemical treatments and color corrections also fall into the "don't try this at home" category.
If you've made a mistake that's beyond your fixing abilities, swallow your pride and book an appointment. Most stylists have seen it all and won't judge. They'd rather fix a small problem than deal with multiple attempts at self-correction.
Conclusion
Learning to trim your own hair at home opens up a world of convenience and saves you both time and money. While it might seem daunting at first, with the right tools, techniques, and realistic expectations, you'll soon be maintaining your style like a seasoned pro, touching up between salon visits with confidence and skill.
Read next: 15 Red and Black Hair Ideas for a Bold New Look
Frequently Asked Questions
Q1: How often should I trim my own hair at home?
A: Every 4 to 6 weeks for maintenance trims.
Q2: Can I use regular scissors to cut my hair?
A: No, always use sharp haircutting scissors for best results.
Q3: Should I cut my hair wet or dry?
A: Depends on hair type; straight hair wet, curly hair dry.
Q4: What's the biggest mistake beginners make when trimming hair?
A: Cutting too much hair at once instead of gradual trimming.
Q5: Is it safe to trim split ends myself?
A: Yes, using the twist method makes it easy and safe.
Stay up to date with our latest ideas!